Thank you for choosing us for your new sail. This simple guide is meant to help you in fitting and tensioning its battens correctly, to make the most out of your sail and preserve its integrity for a long time. Please read carefully before installing the sail, and remember that your One Sails dealer is just a phone call away if you need assistance!

Rocket” tensioner (rear loading)

Velcro tensioner (rear loading).

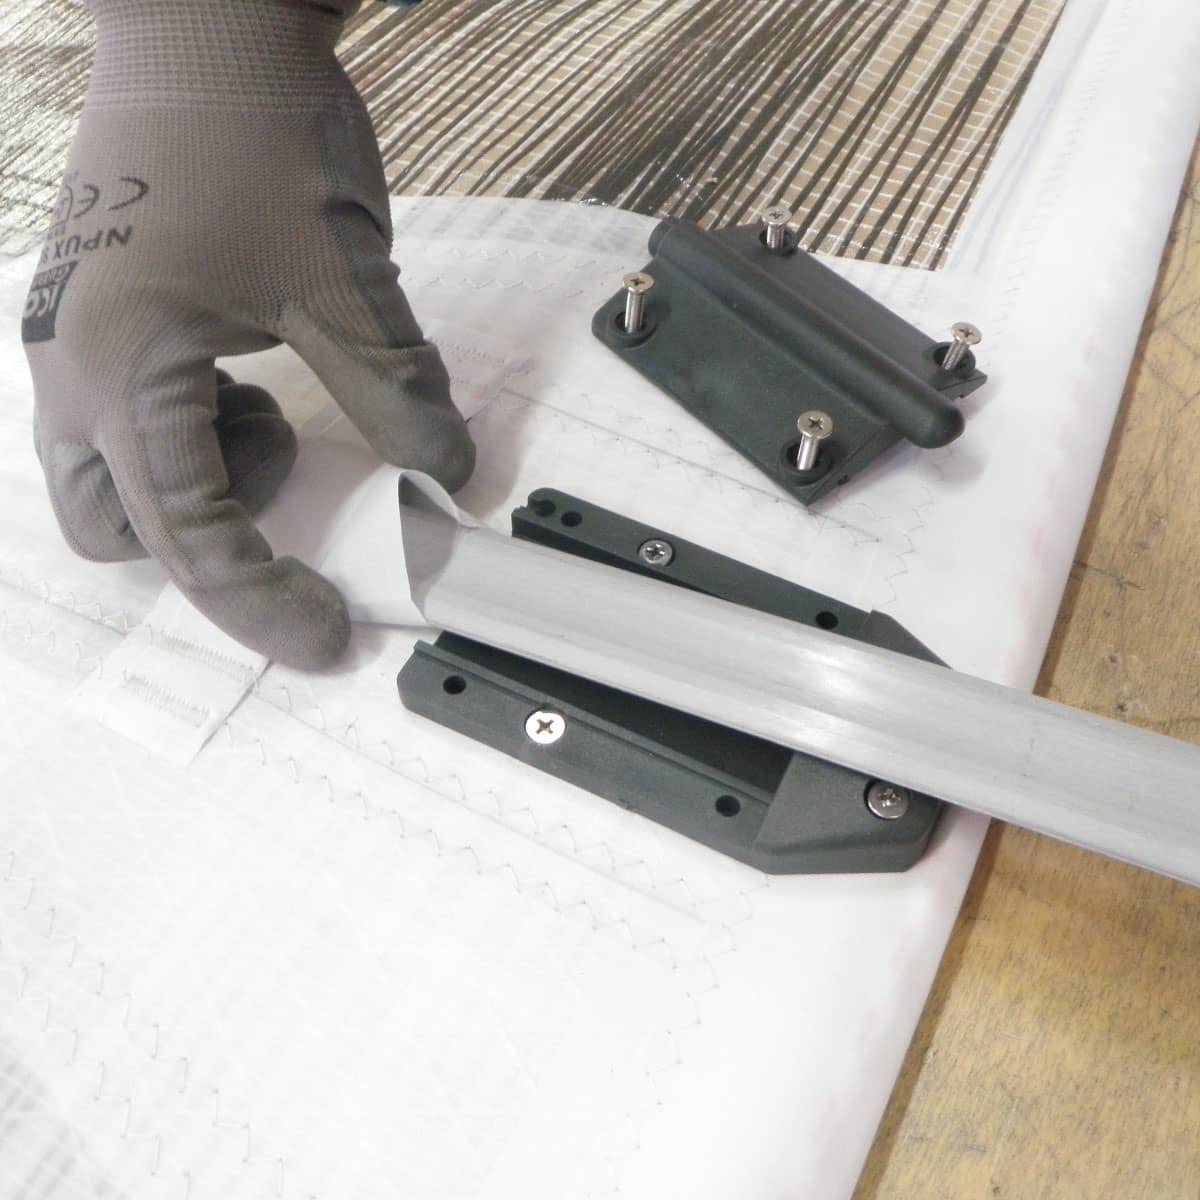
Batten receptacle (front loading)

A. gently insert the batten’s soft end in the pocket, then slide the black plastic tensioner onto its end as shown

B. push the batten all the way in

C. engage the retainer line integrated in the pocket around the tensioner end as shown

D. using a flathead screwdriver tension the batten until it just sits firmly in its pocket

A. gently insert the batten’s soft end in the pocket, above the velcro flap

B. push the batten all the way in, then feed the end of the velcro flap into the pocket

C. gently pointing the end of the batten feeder into the flap’s recess, push the flap fully in until the batten sits firmly inside its pocket

D. leave the line loop from the velcro flap outside, to be grabbed for extraction

A. completely release the tensioning screw, then open the receptacle’s cover (technique and tools required vary depending on model installed)

B. gently insert the HARD end of the batten in the pocket

C. push the batten all the way into the pocket until its end sits in the receptacle’s recess

D. put the receptacle cover back in place, then tighten the tensioning screw until the batten no longer moves fore and aft in its pocket
N.B. Not all the fittings and accessories depicted in this guide could be part of the standard dotation of the sail.
Signup our newsletter to get updates, information, news, insight or promotions: